Hosting your Express app
Why is this important 💫
Before you go forward and explore Express on your own, it is important to know one last thing: how to host your app. Although hosting is not a requirement to use Express for your needs, if you ever will try to expand your website past your local machine (your computer), hosting will be unavoidable.
Hosting is basically making your app run independant of your computer (on a separate, dedicated server)
Services 
To host your Express app:
-
You can use a paid service, here are some examples:
- Heroku
- AWS (Amazon Web Services)
- DigitalOcean
-
You can use some free services, like:
- Render
- Vercel
- GitHub Pages (for static sites)
We are going to use Render for this tutorial.
Step 1: Create an account on Render
Go to Render and sign up for a free account.
Step 2: Create a new file
Create a new file if you are starting from scratch, or replace your "server.js" in your project directory with the following content:
    const express = require("express");
    const app = express();
    require('dotenv').config();

    app.get('/', (req, res) => {
    if (process.env.HOSTED === 'yes') {
        res.send('Your app is hosted!');
    } else {
        res.send('Your app is running locally.');
    }
    });

    app.listen(3000, () => {
    console.log("Server is running on http://localhost:3000");
    });
.env
As you can see, we will be using a Node.Js package called dotenv.
Dotenv is a package that allows us to pass variables without changing the code. For example, in Render there will be an option to put env files. They will then be refered to in our code. You will see how it works in Step 4.
Another reason we are using it is due to GitHub. It warns the user that leaving your passwords or API codes and other sorts of keys is a danger. We want to start building a habit of using env variables so that we do not encouter any problems later on your Express journey.
You will need to install it:
Run this command in your terminal
Now, in the same directory you need to create a file called .env
Put this inside of it
Step 3: Upload to Github
At this point, your working folder should look something like this:
Example
Your .js file might have a different name, but should be similar
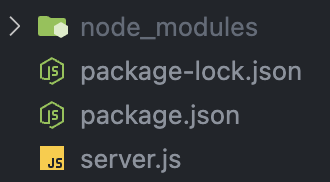
Add a .gitignore file to the same folder put node_modules inside of it.
This will prevent hundreds of modules you installed from going into your git repository. Because of how Node works, node_modules is a very large file. When someone else want to use your code, they will only need to run
npm ito get the modules, so there is no need for node_modules to be uploaded.
Now, create a new repository (it can be private or public, but preferably private). If you are not sure how to do this, check this guide out!
Step 4: Upload to Render
-
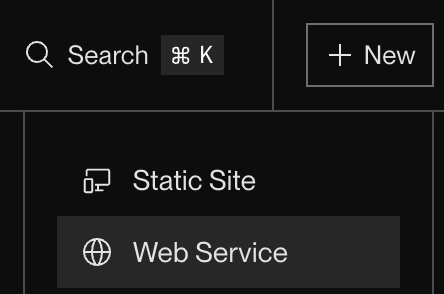
Last step needed. Go on render and select "create new web service"
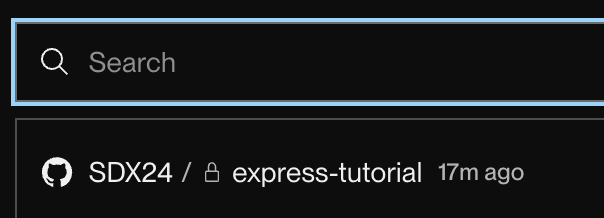
-
From the dropdown, select your git repository
-
Update build and start commands to use
npm iandnode *server.js*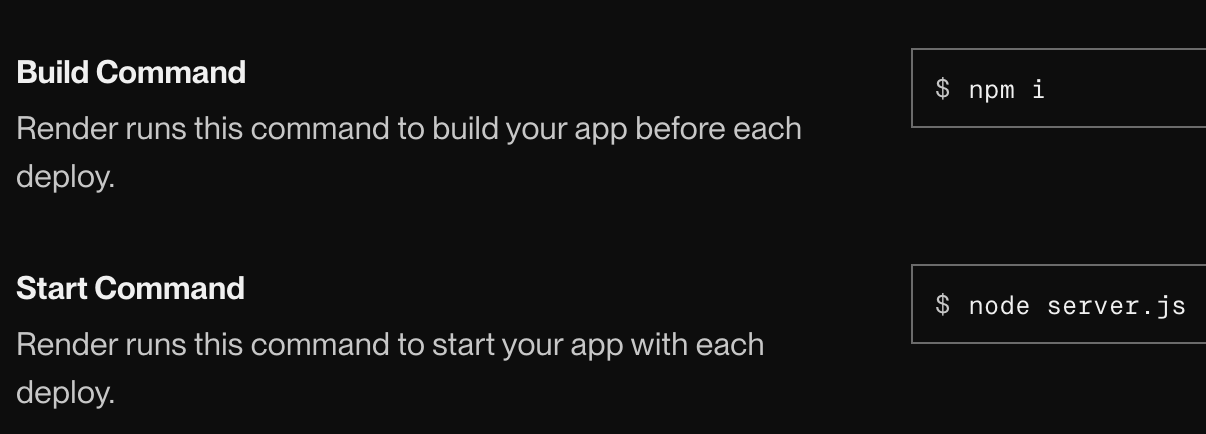
-
Select instance type Free

-
In Environment Variables section, type
HOSTEDand a valueyes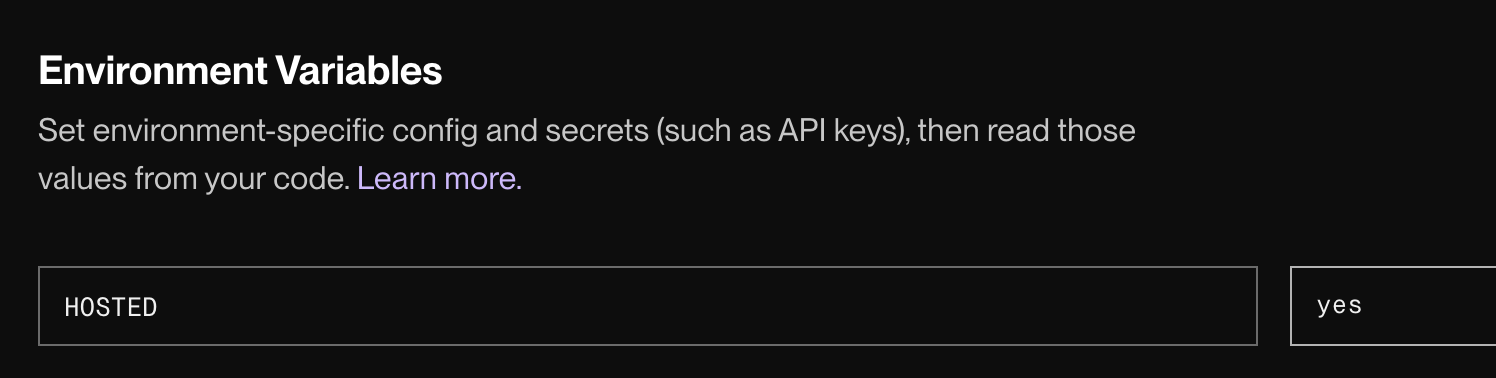
Danger
HOSTED should be capitalised as that is what we have put in dotenv. dotenv is case sensitive
-
Click deploy
-
Open your render website
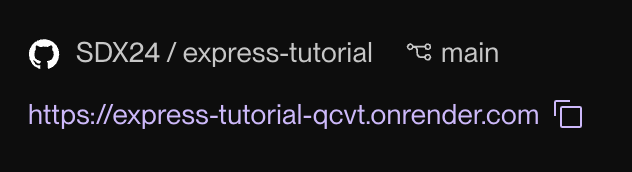
If you were successful, you should see this:
Success

Successful deployment
